You’re halfway through the finale of your favorite series. The plot thickens, your heart races, and suddenly—nothing. The lights go out along with your Wi-Fi and, worst of all, your TV. Or maybe it’s a less dramatic but equally frustrating situation: your electricity bill has inexplicably almost doubled, and you don’t even remember how much time you’ve spent gaming lately.
For most of us, screens are an integral part of our leisure time and socializing, which is why continually powering them can get expensive. Echoing back to that power outage scenario and also factoring in the rising prices, it would be nice to have a device that runs off of clean and free energy. In this case, a solar-powered TV.
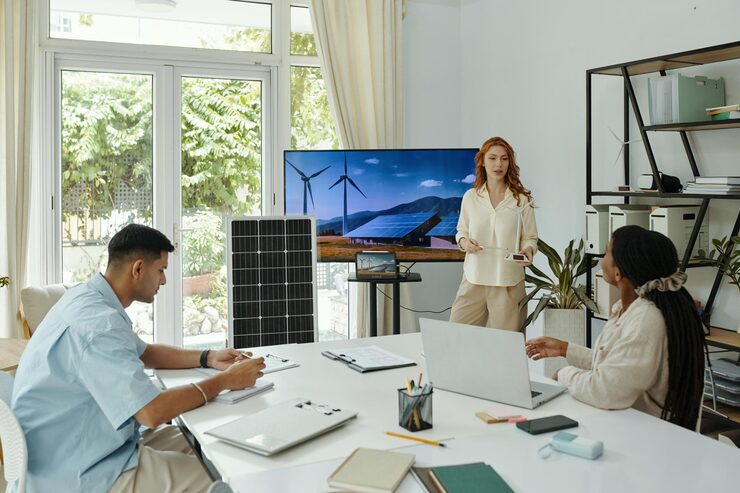
Integrating our TV habits with the stability of alternative energy sources is certainly not only an entertaining DIY journey, but also a move towards energy self-sufficiency. Here is a comprehensive manual to help you completely disconnect your entertainment center from the electric utility company. We will analyze the underlying mechanisms of the equipment, the calculations for determining the correct system size, detailed installation instructions, as well as the advantages and disadvantages of going solar.
Understanding the Tech: How Solar Works for Electronics
It will be easier to follow the guide when you have at least a very basic idea about how solar energy is generated inside those tiny semiconductor crystals in the panels. A solar-powered TV system includes several components that communicate with each other, not just a panel and a TV.
The Photovoltaic Process
Fundamentally, they are harnessing the energy of the sun through the photovoltaic effect. A solar panel consists of numerous tiny solar cells, usually made of silicon. The electrons in the atoms of a cell become excited when sunlight energy is absorbed. These freed electrons, which constitute an electric current, are thus chased around the available space.
As a result, the generated current is of the Direct Current (DC) type. Household gadgets are designed for Alternating Current (AC), as is the case with your TV. That is why you need several intermediaries between the solar panels and your TV to convert the current.
The Component Ecosystem
The “Big Four” components supply energy to a solar-powered television as a relay team passing the baton of energy from the sky to your living room.
- Solar Panels (The Collectors): These convert sunlight into DC electricity. The panel’s size and the number will dictate how quickly you can charge your battery bank.
- Charge Controller (The Gatekeeper): This device regulates the voltage and current flowing from the solar panels to the battery. It prevents the batteries from damage due to overcharging by solar panels.
- Battery Bank (The Reservoir): The battery stores the excess power generated by solar panels during the day so that this stored energy can be used for TV watching at night or during bad weather conditions.
- Inverter (The Translator): This removes the hiccup and converts your home’s AC power into the DC that your photovoltaic system can store in batteries, and vice versa.
The Math: Sizing Your Solar System
The very first thing that you must do is to crunch numbers. If you don’t make enough power, the power of your movie will be cut off. On the other hand, if you do too much, you’re throwing money at something that you won’t be using.
Analyzing Consumption
Look at the label on your television. It should display a number with the letter W next to it, indicating wattage. What this figure represents is the instantaneous power of the television.
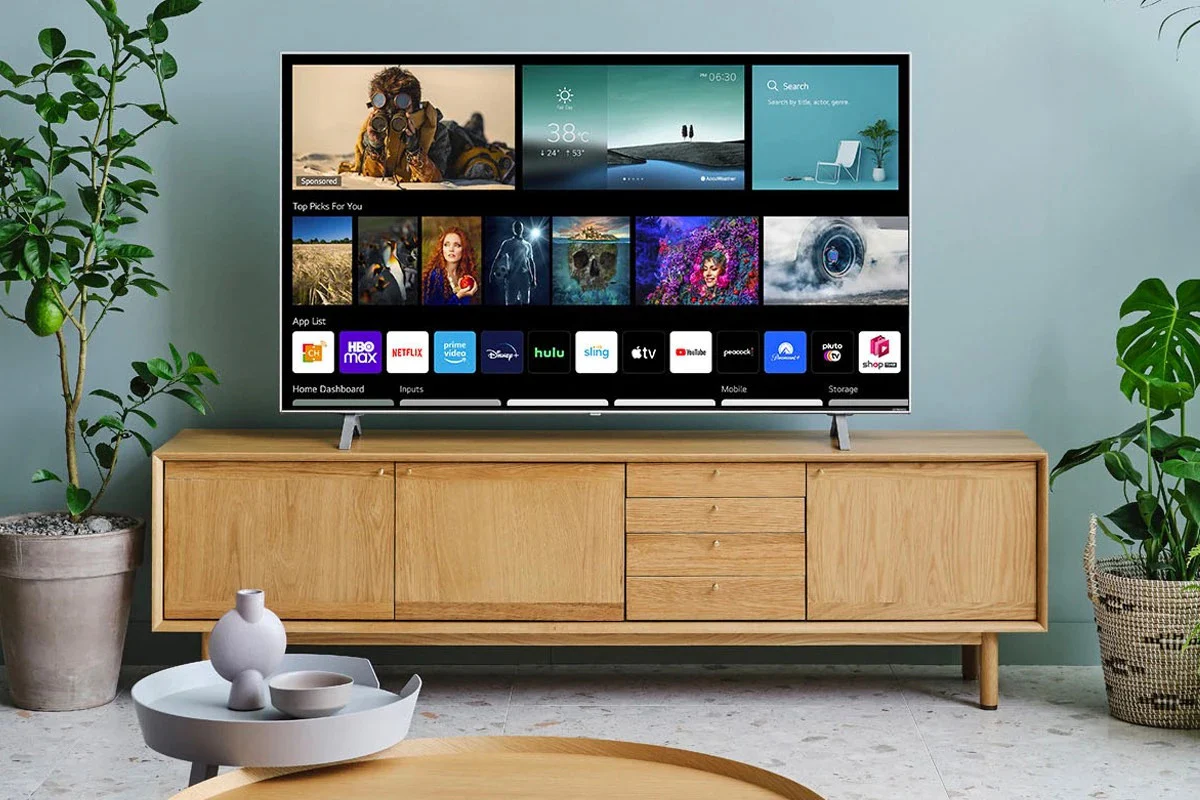
The power consumption of the present set and the old one is vastly different. For example, modern LED or LCD TVs might use anywhere from 30 to 100 watts. Meanwhile, older plasma screens or big CRT models may still gobble up 300 to 500 watts. If you intend to be comfortable with solar power from the word go, it is worth considering upgrading your TV to a more efficient one because a new energy-efficient TV will usually cost you less than the extra panels and batteries that would be needed to power an inefficient TV.
Calculating Watt-Hours
Getting your daily energy usage calculated in Watt-Hours (Wh) after you figure out the wattage is the next thing to do. The equation is pretty straightforward:
TV Wattage × Hours of Viewing = Daily Watt-Hours
Thus, if your LED TV rating is 60 watts and you are giving it 4 hours, then:60W × 4 hours = 240Wh
You need a solar system that can produce and store at least 240 watt-hours of energy every day.
Accounting for Inefficiency
Energy has to pass from the panels through wires to the batteries and then through an inverter. On the way, the energy is inevitably lost due to heat. The operation of inverters is usually about 85-90% efficient; therefore, they take the majority of the heat.
To have enough power, you should increase the amount obtained from your formula by adding a 25% “buffer”.240Wh × 1.25 = 300Wh
Therefore, the aim that you have is actually 300 watt-hours per day.
Sizing the Battery
Since batteries are rated in Amp-hours (Ah) rather than Watt-hours, we need to make one last conversion. 12-volt batteries are generally used for most home solar systems.
Watt-Hours / Battery Voltage = Amp-Hours
300Wh / 12V = 25Ah
Therefore, you need 25 amp-hours of energy storage. However, standard lead-acid batteries should never be discharged below 50% if you want to extend their lifespan. In other words, you will need a battery with twice the capacity.25Ah × 2 = 50Ah
Here, a 12V 50Ah battery will be sufficient for a 4-hour daily viewing of a 60W LED TV.
Step-by-Step Guide to Setting Up the System
After using the above formulas to determine the size of your battery, solar panel, and other stuff, now it’s time to play God by bringing them all to life. This is a pretty straightforward process, but the correct order of operations must be followed for safety as well as for making sure the equipment lasts between 15 and 20 years or more.
Step 1: Location and Positioning
Solar panels require direct sunlight. Shadows effectively “kill” the output of panels, and even a tiny shadow from a leaf can significantly lower a panel’s output. If you are in the Northern Hemisphere, make sure that your panels face South. The same applies if you are in the Southern Hemisphere, only that you should face your panels North.
You should also think about the inclination angle of the panels. A general rule of thumb is to set the tilt angle equal to your latitude. That way you will get the most of the sun all through the year.
Step 2: Wiring the Bank
Before you start wiring your solar panels, the first thing to do is to connect the battery to the charge controller without the panels being connected. Typically, the charge controller will set itself automatically once it gets the battery’s voltage (usually either 12V or 24V).
The positive terminal (+) of the battery is connected to the positive terminal of the controller, and the battery negative terminal (-) is connected to the controller negative terminal (-) as well. The controller is a small device with an LCD screen that will light up, indicating that a connection has been made.
Step 3: Connecting the Panels
It’s time to connect your panels to the controller now. Just to be safe during this step, cover your panels with a blanket or cardboard and then carry on connecting the wires. Connect the positive and negative terminals from your solar panel to the respective “PV” or “Solar” terminals on the controller.
Step 4: The Inverter
The inverter requires a hefty current, often more than what a charge controller can supply from its “load” terminals. This is the reason why you have to link the inverter to the battery bank directly.
The inverter is connected to the battery with the red positive cable going to the positive terminal of the battery and the black negative cable going to the negative terminal. Switch on the inverter after the connections have been made. A green light or a voltage value on a display will be the sign.
Step 5: Safety First
Electricity is nothing to joke about, probably even if it’s just 12 volts. To make sure you do not get hurt, follow these safety precautions:
- Fuses: Position a fuse between the solar panel and charge controller, and another between the battery and inverter to provide protection from sudden short circuits or power surges.
- Grounding: Most charge controllers and inverters provide a grounding terminal. To prevent static buildup and shock hazards, install a grounding rod and connect it to this terminal with a wire.
- Stay Dry: Working with electrical elements in the rain or with wet hands is strictly prohibited.
The Major Benefits of a Solar-Powered TV
Why bother with all this hassle of wiring and measuring watt-hour counts? The payoff cannot be simply summed up with the ability to watch your favorite shows at any time.
Environmental Impact
Using only one appliance from renewable energy sources may sound like a drop in the bucket, but it helps lessen a household’s carbon footprint to some extent. Fossil-fuel combustion is one of the main sources of traditional power generation, which is why, by using your solar-powered television, you are indirectly helping power plants reduce their carbon footprint, greenhouse gases in particular.
The TV is the appliance that is rarely ever turned off in any household, so if all the households in the world decide to power their televisions with solar, just imagine the carbon emissions that will be cut down.
Economic Wins
The initial investment can indeed be quite high, but regardless of that, the end-of-the-line cost works out in your favor. Energy becomes free after installation. The heavier the power user, the faster he accumulates savings.
Electricity prices continue to skyrocket. By tying your power source now, you are sheltering yourself from any increase in prices in the future. Your solar-powered TV will feature the self-pay stage after some time, followed by a purely yielding stage.
Energy Independence
There is so much energy security that you literally cannot put a price tag on it. When the mains power goes off due to weather or grid failure, you will have your lights on at home. Solar-powered TV will allow you to access news and weather updates, thereby helping you plan for a power outage period.
For self-sufficient nomads, van lifers, or cabin dwellers, a solar-powered TV is not just a luxury; it is a necessity. Any isolated place can be equipped with modern-day entertainment as well, through the power of solar energy.
Navigating Challenges and Solutions
Although the advantages are obvious, there are still some difficulties involved in going solar for your TV. Knowing those challenges in advance ensures that you have adequately prepared your system to be more robust.
Upfront Costs
The investment bank-hardening of buying quality lithium batteries and high-efficiency panels is an expensive one.
Solution:
For a less costly or complicated situation, you might want to consider a portable solar generator kit. These “all-in-one” units include a battery, an inverter, and a controller in one box. You just connect the portable solar panel for charging, and then connect your TV to the unit’s AC outlet. The great thing about this solution is that there are no wires involved, and it is to get started quickly.
Intermittency Issues
Since the sun doesn’t shine 24 hours a day, 7 days a week, your battery bank may unavoidably run out when you have been experiencing several days without sunshine, leading to a black screen.
Solution:
Make your solar array bigger than what is required. Say that the math tells you that one 100-watt panel will do. Double it anyway. Even on overcast days you will be able to get enough light to fully recharge your batteries. Besides that, there is always the option of a hybrid inverter that can be charged by your electricity mains when the solar power is insufficient.
Maintenance
Usually, solar panels do not require maintenance, but that doesn’t mean they last for maintenance and; pollution such as dust, bird droppings, and pollen, can significantly reduce the effectiveness of your solar panels.
Solution:
Come up with a cleaning schedule. Every few months, you may opt to wipe down the panels with a damp cloth just to make sure that they are up to full performance. You can also monitor the power input through Bluetooth if your charge controller supports it, thus you get an alert whenever the performance drops unexpectedly.
The Big Picture
A solar-powered TV configuration brings to life an energy-efficient entertainment center that slashes your utility bills while being friendly to the environment. This makes watching TV a renewable-energy revolution participation rather than a passive activity.
Also, these kinds of projects usually open the door to wider solar adoption. You may first have the TV powered by solar, then your laptop, the refrigerator, and maybe your whole home. Regardless of the size, the system operating principles you learn in sizing, wiring, and storage are generally applicable.
So, what are you waiting for? Find out the wattage of your TV and do the math. You may be pleasantly surprised to find that solar power is attainable and easier than you thought.
FAQs
Can I run a Smart TV on solar power?
Certainly. Smart TVs require the same AC electricity source as a normal TV. Note that to be smart, your TV also needs an internet connection. If you plan to enjoy streaming on Netflix, Hulu, or other services even during a blackout, then apart from your solar-powered TV, you will also have to power your Wi-Fi router from your solar energy system. Make sure to add the energy consumption of the router (generally 10-20 watts) to your overall energy requirements.
How many solar panels do I need for a 50-inch TV?
This depends on factors such as the TV’s efficacy, functionality, etc. We can, however, provide an estimate. Generally, an LED TV of 50-inch size uses around 80-100 watts on average. The power consumption for 4 hours is therefore 400 watt-hours. Assuming that a 100-watt solar panel gets 5 hours of peak sunlight, it can generate about 500 watt-hours. Hence, one 100-watt panel in this case would be sufficient, provided that you have a battery to store that energy for evening viewing.
Does a solar-powered TV work at night?
Solar panels only work when there is sunshine; therefore, a solar-powered TV at night will require a battery in your solar system to be able to work. During the day, the panels keep the battery charged, and then at night, the battery powers the television.
Can I plug my TV directly into a solar panel?
Solar panels generate fluctuating DC voltage that varies with solar insolation intensity; so no. TVs require a stable AC voltage (like 110V or 220V). Even if you just very briefly plug in your TV to a solar panel, it would most certainly not work and is far more likely to be damaged by the voltage spikes and drops. Properly functioning DC power from a battery is first converted to AC power with an inverter before a TV can use it.
What is the best type of battery for a solar TV setup?
Currently, Lithium Iron Phosphate (LiFePO4) batteries are considered the most advanced. They may be a bit pricey at the start compared to the usual Lead-Acid or AGM batteries, but they have a life expectancy that is 2-3 times longer (about 10 years versus 3-5 years), and they allow you to use more of the battery capacity (deeper discharge) without causing any damage. Thus, the final cost of LiFePO4 batteries is lower.
Conclusion
In the end, a solar-powered TV isn’t just a cool DIY experiment — it’s a smart step toward a more independent, cost-efficient, and eco-friendly entertainment lifestyle. With a bit of planning, some simple calculations, and the right components, you can enjoy your favorite shows without stressing over rising electricity bills or unexpected power outages. For many people, this small project becomes the first step toward a larger transition to renewable energy at home.
So why not start today? Check your TV’s wattage, estimate your daily viewing time, and explore a small solar setup that fits your needs. The next time the lights go out or energy prices climb, you could be the one still relaxing and watching your favorite series — powered by clean, free sunshine.